![]()
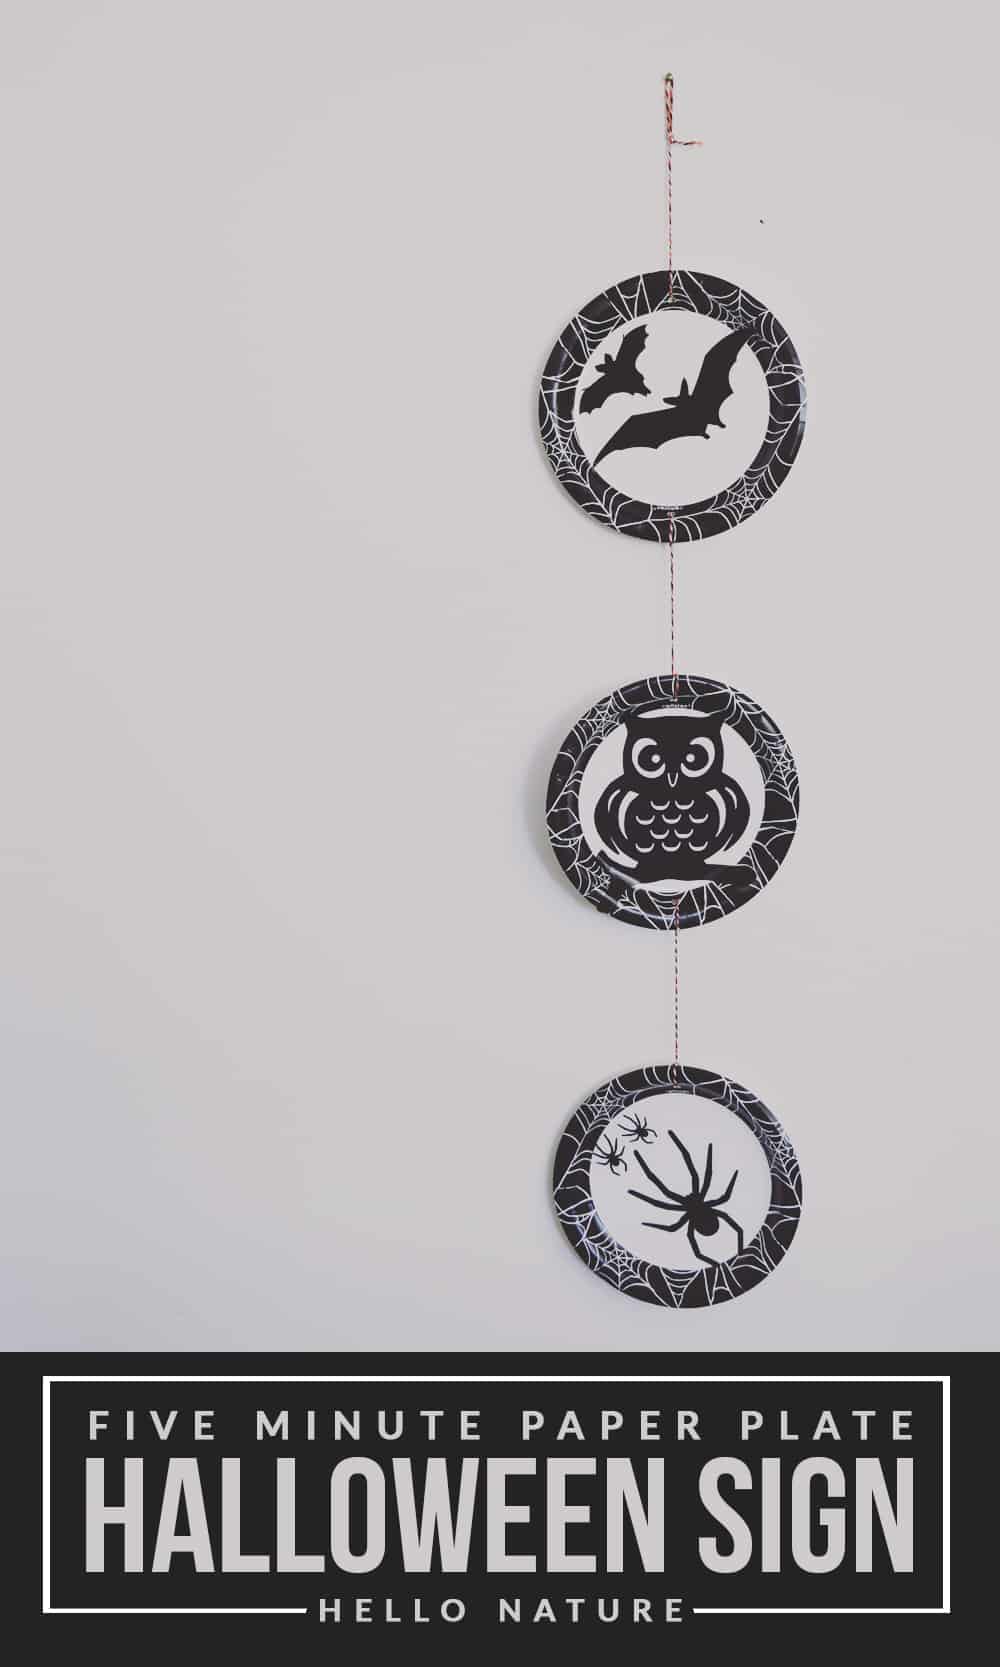
Looking for a quick and easy craft to make with your littles? This Paper Plate Halloween Sign is the perfect project for everyone!
Obviously Lily is still a bit too young to be making crafts for the holidays. But that doesn’t mean that my head isn’t already filling with ideas of things we can do together once she’s older! Today’s project is one of those that I could easily see myself making with her in the future so if you have tiny humans in your household, this one is a great one for you!
If you’re in need of some more Halloween inspiration or want to grab these exact supplies for your project, head over to Oriental Trading! They’ve got tons of supplies for the perfect spooky craft project along with tons of ideas and fun items for an awesome Halloween party!
One thing I love about this project is how easy it is to customize it. There are SO many options, depending on the look you’re going for. You could easily have ten different signs that don’t look anything like each other. Change the plates, use different clings/stickers, add some color to it with scrapbook paper or markers, etc. The options are endless!
Paper Plate Halloween Sign Supplies
- Round Paper Plates
- Halloween Silhouette Clings
- Halloween Baker’s Twine
- Scissors
- Hole Punch
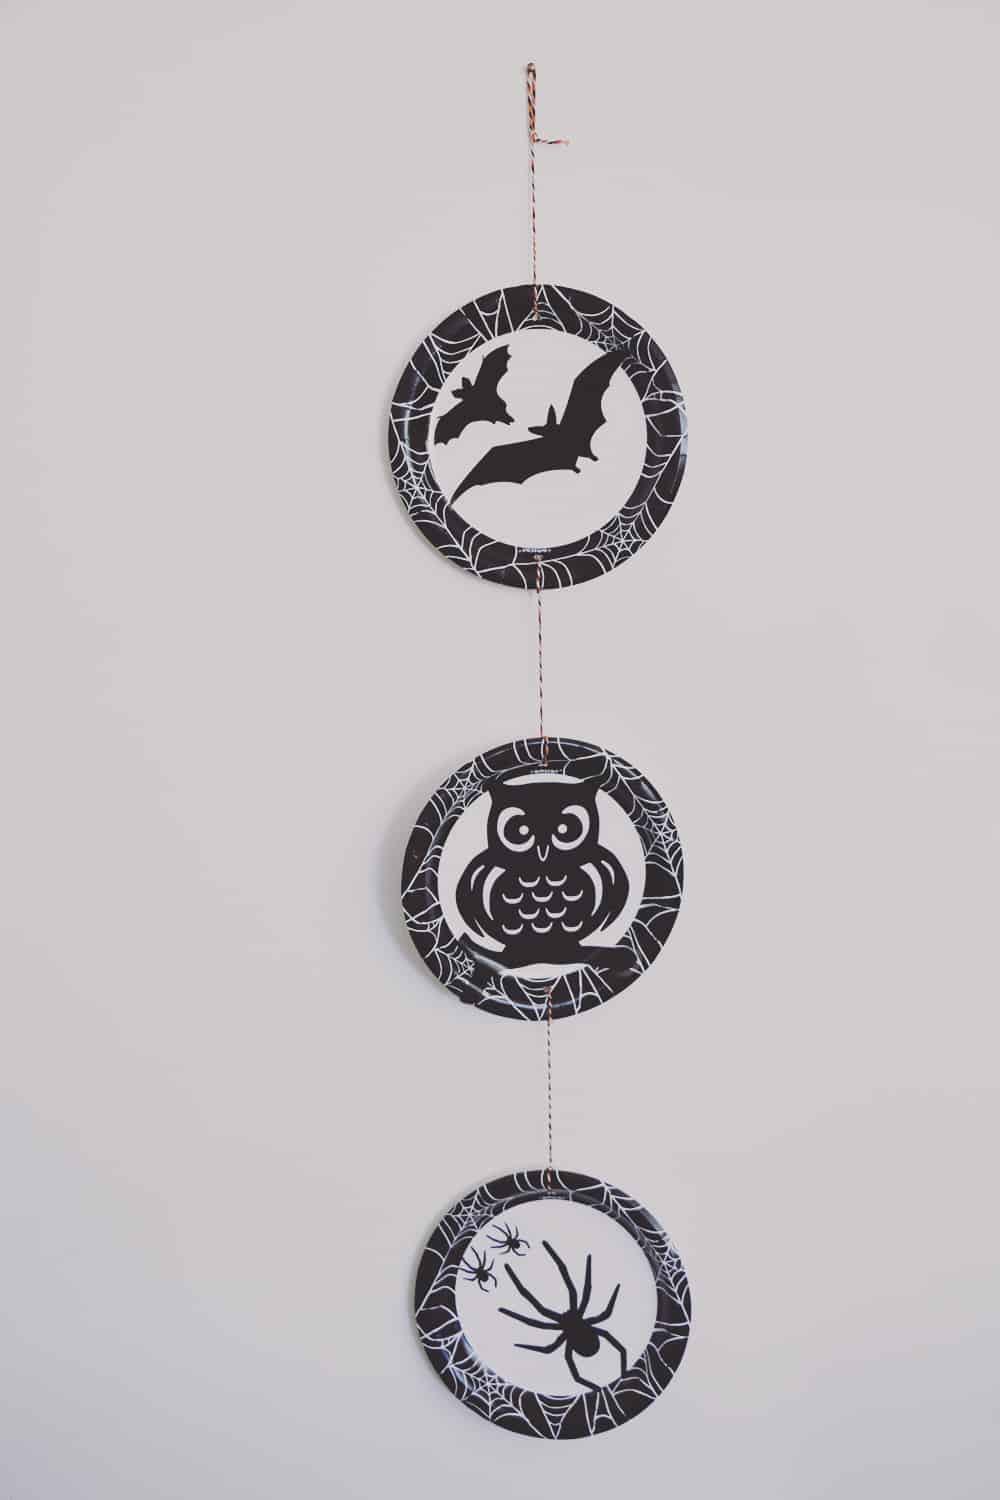
Halloween Paper Plate Sign Steps
- In two of the plates, punch a hole in the top and the bottom. Holes should be directly across from each other.
- In the third plate, only punch one hole (where the top will be.)
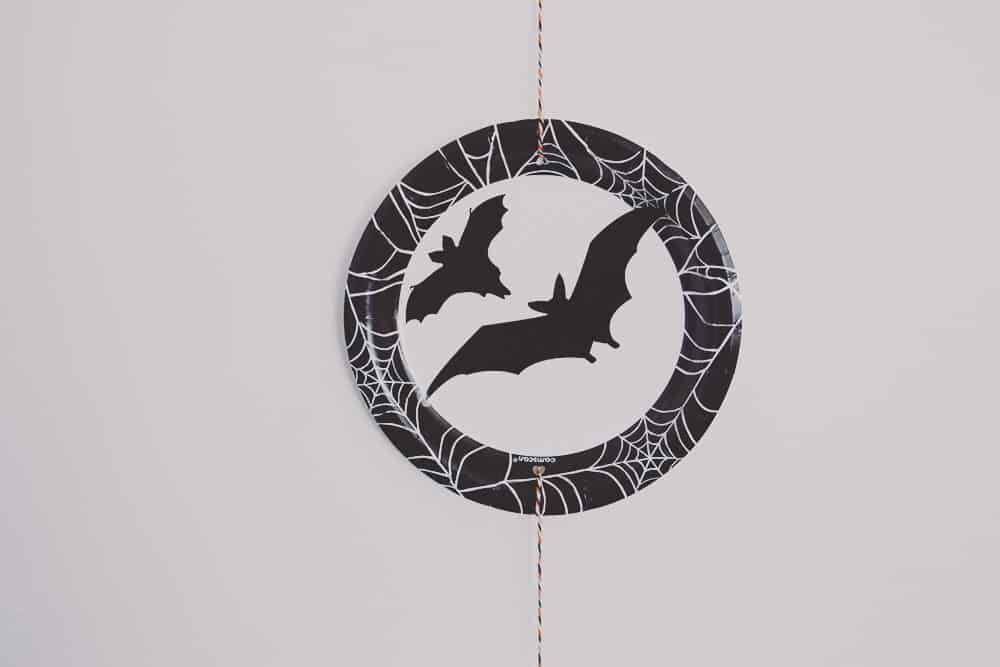
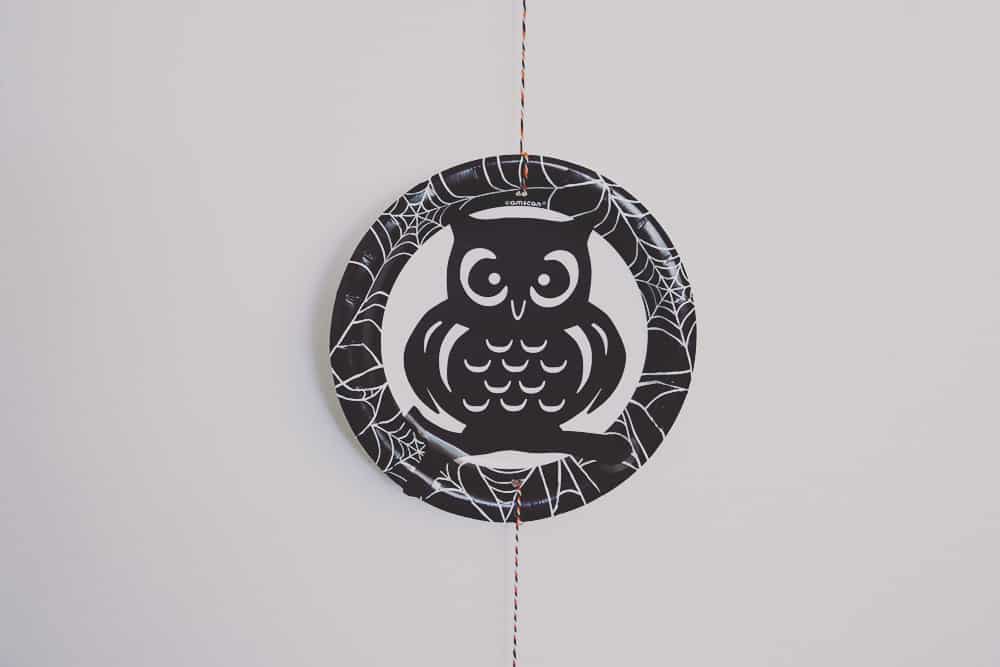
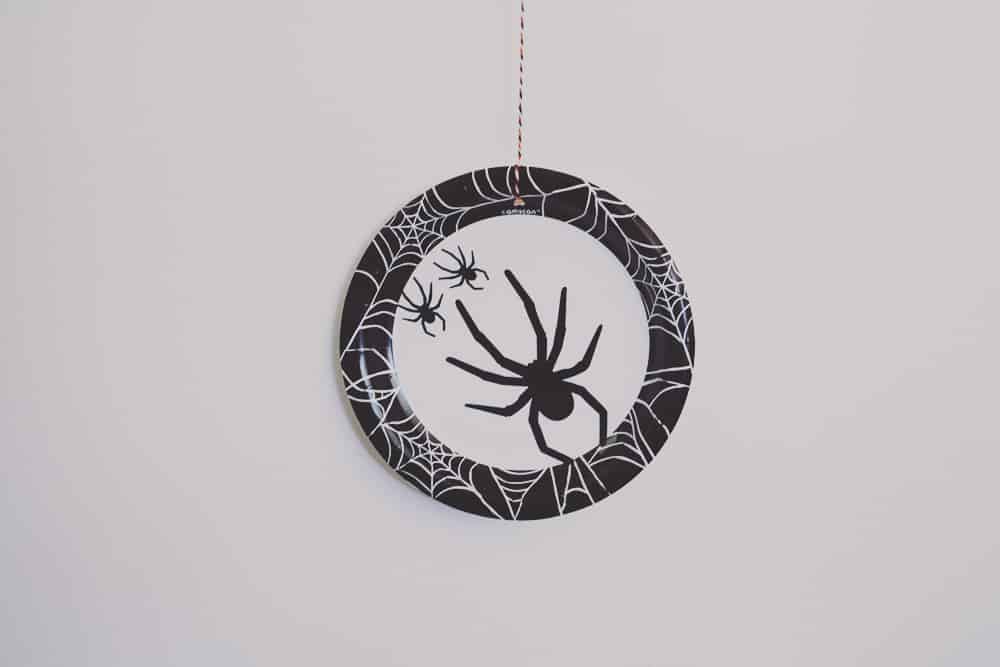
- Place your Halloween clings or stickers in the middle of the plates.
- Loop the baker’s twine through the hole of the bottom one and knot it around the top for it to hang.
- Repeat that step with the middle one. Bring the twine behind the back of the plate and loop through and knot again.
- Repeat step 5 for the top plate.
- With the leftover string, tie a knot where you would like it to hang.
That’s it!
If you have more clings/stickers, you could easily make this longer. It’s a fun project for the kids to personalize, too. They could write their name or Halloween sayings on it or even embellish the plates with markers.
Let’s chat!
How do you decorate for Halloween? What are your favorite craft projects to make with your little ones?
You might also like: