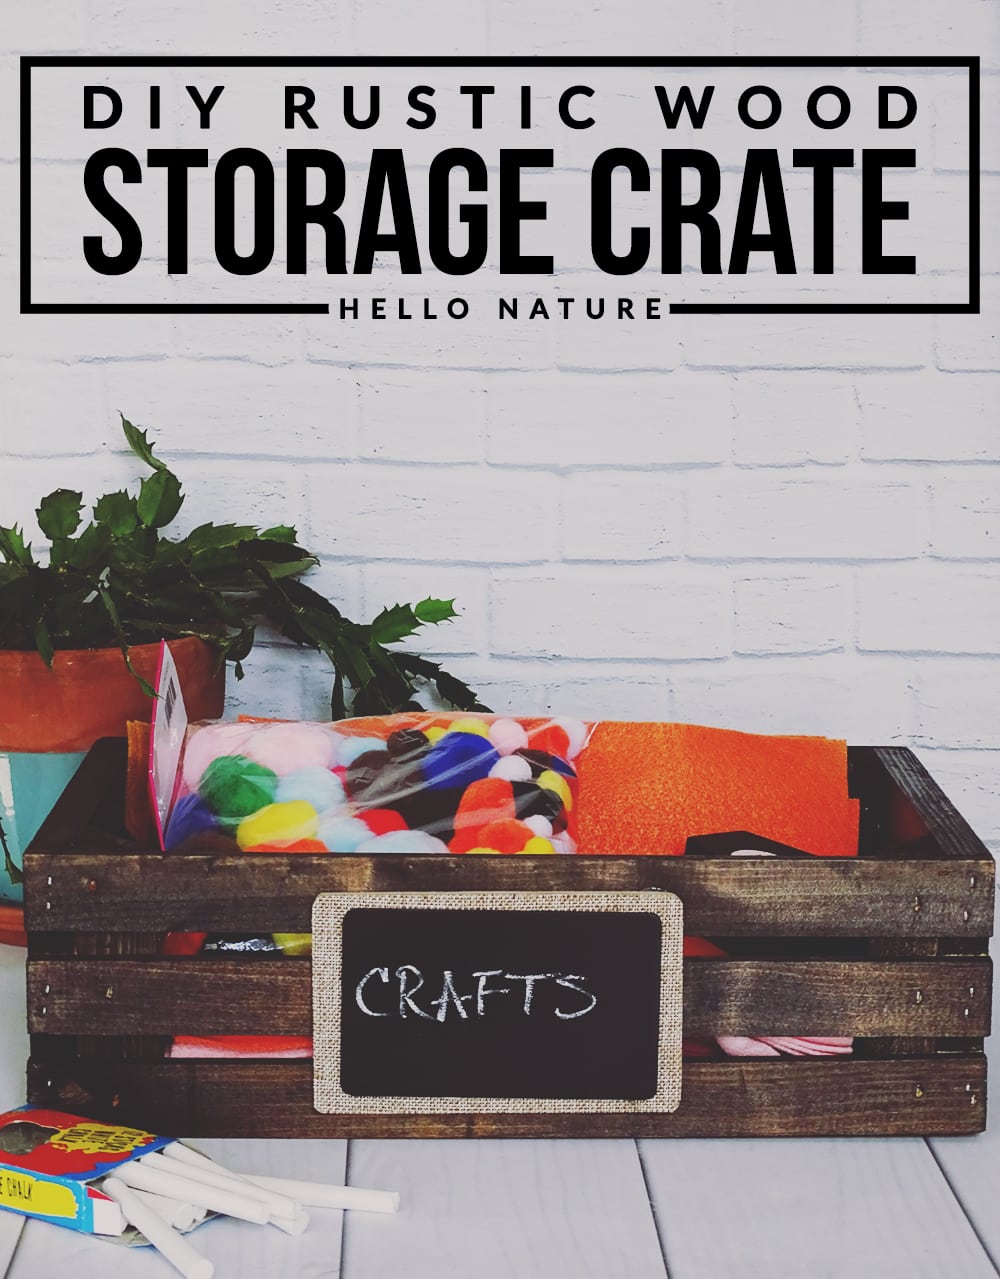
Want to add a bit of rustic charm and organization to your home? All you need is this simple to create wood storage crate DIY!
I have been kicking myself for not picking up a wooden milk crate at a recent garage sale when I saw it. At the time, I had Hunter with me and I was already lugging home a large chalkboard I had purchased. I mulled over going back for the crate a little too long. When I went back for it, the yard sale was already packed up for the day. Total bummer!
I am always looking for new ways to organize my house. I love using rustic wire baskets and wooden crates for storage. Even though I missed out on that crate at the yard sale, I found some on sale at the craft store recently. I wasn’t missing out again, so I picked one up to make into storage that was not only practical, but also looked great when kept out in the open!
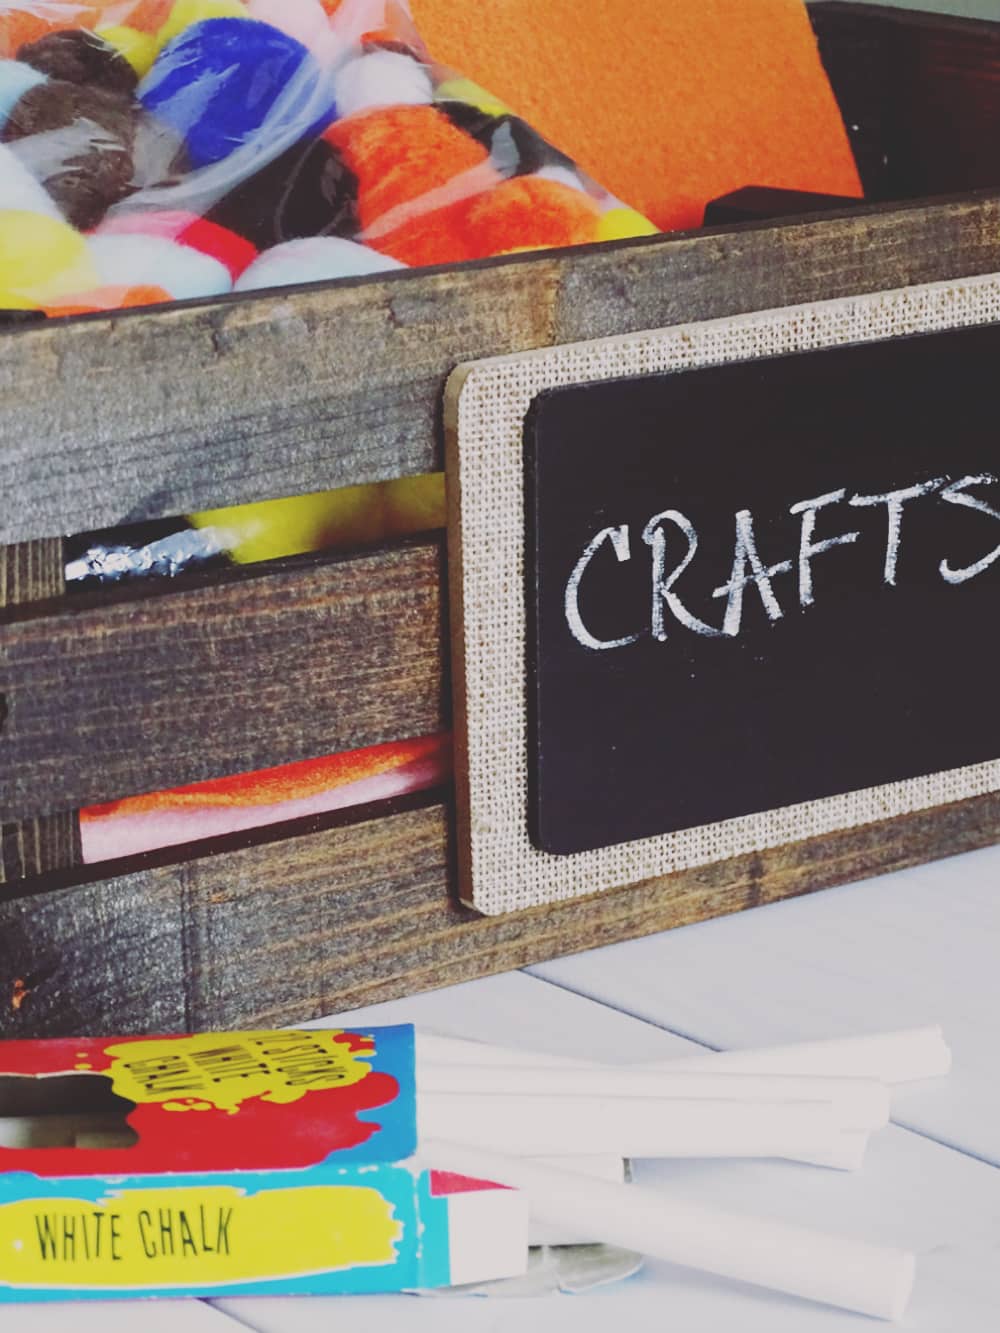
I wanted to work a chalkboard element into my crate, so I purchased a chalkboard plaque, as well. The plaque I found had a burlap background making it perfect for the rustic look I was going for!
RUSTIC WOOD STORAGE CRATE DIY
SUPPLIES
- ArtMinds Wood Crate, Medium
- Ebony wood stain
- Small chalkboard plaque
- Rags, for staining (ripped up old t-shirts work great!)
- Rubber gloves
- Hot glue gun
STEPS
- Before you start staining, put on a pair of gloves to protect your hands. Also, make sure to prepare the surface you’re working on to avoid staining it.
- Dip a rag into the can of stain and carefully squeeze out the excess.
- Begin staining the crate by wiping it with the stain. Make sure to wipe in the same direction and clean up drips.
- Continue staining each side of the crate until it’s completely covered. Allow stain to dry overnight.
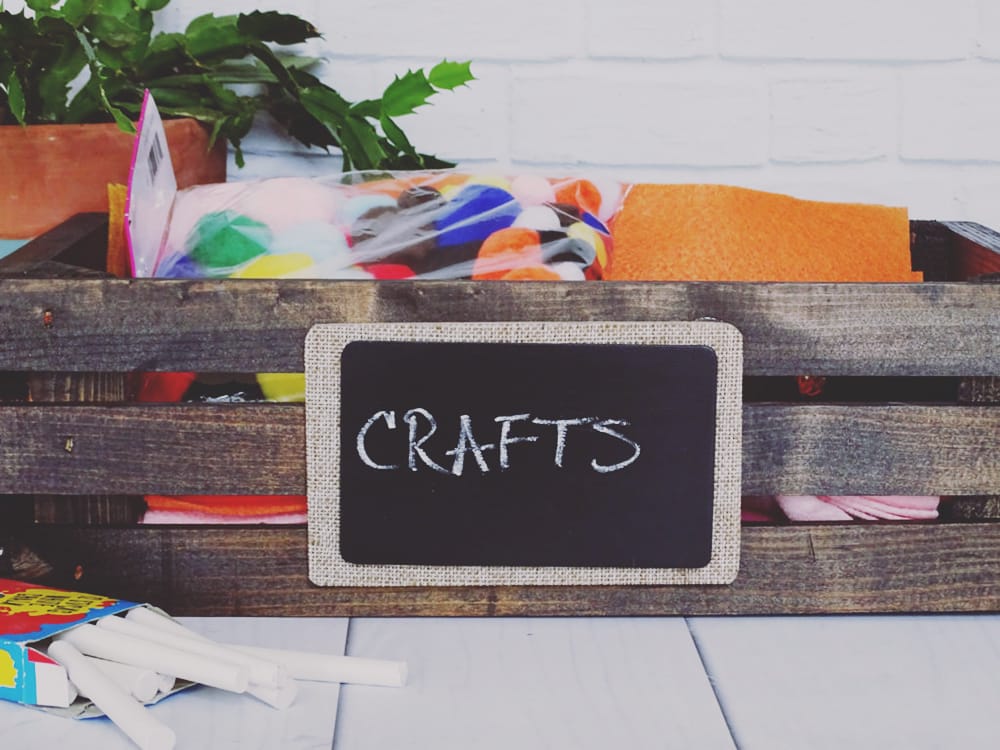
- Heat a hot glue gun. Add glue to the back of the chalkboard plaque, then position it, centered, onto one side of the crate.
- Activate the chalkboard plaque by rubbing a piece of chalk over it. Then, wipe the board with a dry paper towel.
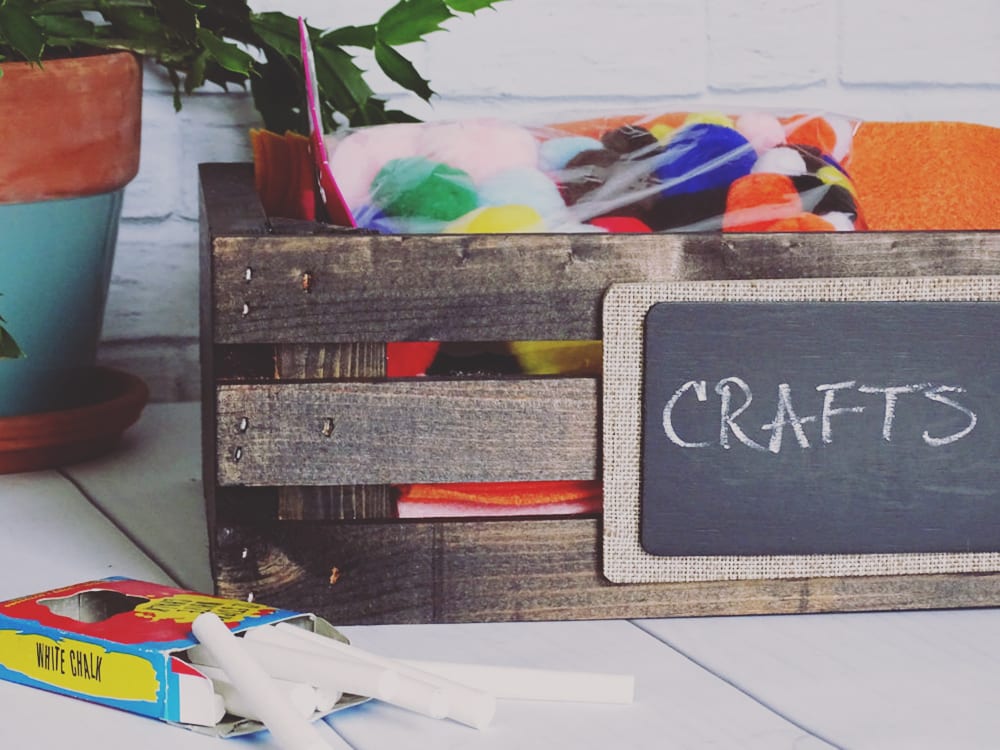
- You’re ready to label your crate and use it for storage!
Before starting this project, you’ll want to protect the surface you’re working on or work on a workbench that you don’t mind messing up. Make this project outdoors or in a well-ventilated area. I worked in our garage with the doors open. Working on this project outside also helped the stain set faster and I got to enjoy some of the beautiful weather we’ve been having!
The size of this wooden crate is perfect to hold some of my pending project supplies I have in my office. I might even make another one to hold all of Hunter’s dog toys! You can easily make this project in one weekend. You’ll be organized and ready to go for the week ahead!