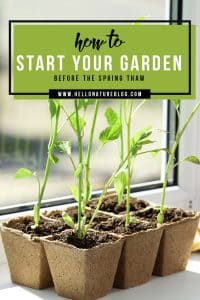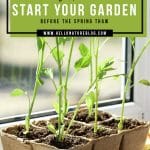
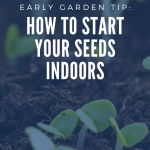
Spring is so close you can almost feel it. But mother nature has other ideas so starting your garden has to wait, right? Wrong! With these easy steps, you’ll be starting seeds indoors in no time and your garden will be off to the best start possible.

Click here for an Indoor Seed Starting Buying Guide: Find all the items you need to get your seeds started early and at a fraction of the price of local nurseries!
We’ve had an annual ritual for a few years now. The snow finally melts. It finally gets warm. It finally stays warm. Then we hit up our local greenhouse. We pick out all the plants we want and throw down a large amount of money because plants ain’t cheap!
But this year, we’re doing things a little differently.
We decided that starting seeds indoors long before we’re ready to plant is the route for us.
Starting seeds indoors has a lot of benefits for you and your garden. You can choose the exact plants you want. You don’t have to settle for whatever your greenhouse has in stock. Also, you can plant extras in case any die. After your initial investment, starting seeds indoors saves you money. There is also the satisfaction of planting a seed, watching it grow, and harvesting the final product for your family. Follow these steps and you can get the same satisfaction for yourself!
Want to do something unique with your wildflower seeds? Make this wildflower seed bombs DIY. Your garden will be filled with fresh fruit and veggies with these seed starting tips and your yard will be filled with beautiful flowers with this fun garden DIY!
Table of Contents
Choose Your Seeds Wisely
The first step to starting seeds indoors to choose your seeds. Think about what you want to grow in your garden. Are they appropriate for your climate? The further north you go, the more careful you need to be. Some plants are able to withstand cold climates much better than others. That’s why we’re not growing palm trees up here in Wisconsin!
You can check out this handy map that tells you what zone you’re in. Most seed packets will tell you what zones are appropriate for that seed. It is possible to go 1 zone lower if you take precautions. We live in zone 4. We can grow a zone 5 plant if we mulch around it and cover it at night until the temperatures are much warmer. This cold frame cover is an economical way to protect your plants at night.
Not all seeds are meant to be started indoors. Fast growing plants like beans, peas, and lettuce should be started outside as soon as the last frost for your area is past. Plants that take longer like tomatoes, peppers, cauliflower, broccoli, and eggplants are great candidates to start indoors.
Start Your Seeds at the Right Time
Starting seeds indoors is all about timing. Be sure to follow the instructions on your seed packet. There is a ton of info on the back of the seed packet. One item is when to start the seeds and whether they should be started indoors or directly planted outside.
Most seed packets state to start your seeds indoors approximately 4-6 weeks before planting outdoors. You want to wait to plant your seeds outdoors until the last frost of the year has past. The Farmer’s Almanac has this awesome calendar to help you out. It tells you when to start your seeds indoors, when to transplant outdoors, and when to harvest.

Get the Right Equipment
There is a ton of great equipment available for starting seeds indoors. Here are some basic items to ensure success.
- Self Watering Seed Starting Kit
- Indoor Seed Starting Soil
- Grow Lights
- Heat Mat
- Mini Greenhouse
- Timer
- Plant Labels
Get Set Up
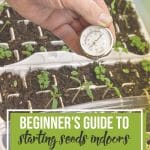
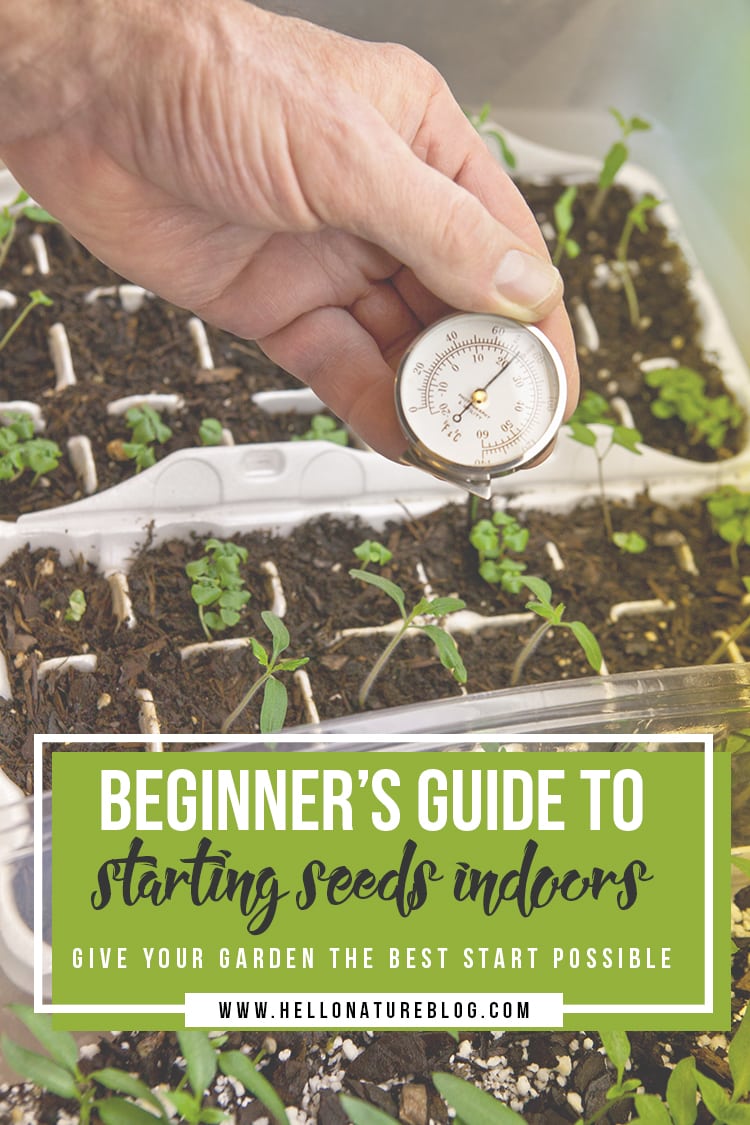
Locate a place in your home or garage for starting seeds seeds indoors. Ideally, this will be a well ventilated area that has a constant temperature of between 65 and 75 degrees F. Most seeds will thrive in this temperature range.
Set up your mini greenhouse, southern facing if possible. You don’t have to use a greenhouse, but it does help in both moisture and heat retention. Set up your grow lights. You’ll want some sort of adjustable height grow light. You want to be able to have the light a few inches above your plant at all times. An adjustable grow light will easily move higher as your plants grow taller.
Plug in your timer. You’ll want to set it to have your lights on for 16 hours during the day and off for 8 hours at night. For this, I’d recommend the Wemo Smart Plug. You can control it from your smart phone. You can set up schedules to run at different times. It also monitors how much electricity you’re using. It has a ton of uses from controlling your grow lights and house lights while you’re away to using a space heater on a schedule. It’s super versatile year round!
Lastly, lay down your heat mat on your shelf. This will help ensure the soil maintains the consistent temperature needed for proper germination. You may need multiple mats depending on the size of the mat and how many plants you plan to grow.
Plant Those Seeds!
You’re to the moment you been waiting for: planting the seeds! This is the part where following the seed packet directions will be the difference between success and failure.
First, fill your seed indoor starting tray with with indoor seed starting soil. I chose a self watering indoor seed starting tray. One big problem in seeds not germinating or dying is too little or too much water. The self watering indoor seed starting tray regulates the water by watering from the bottom so the soil soaks up the appropriate amount of water.
Never, I repeat never, use leftover soil from your garden or leftover potting soil from the previous year.
Once it is in the garden or the bag is opened, it comes into contact with foreign materials and possible parasites. Using a sterile, new bag of seed starting soil will give your seeds the best shot of avoiding disease in the indoor growing process.
Plant the seeds according to the directions. Planting at the incorrect depth could lead to big problems. Some seeds should be sprinkled on the surface or just below the surface so they can germinate in the light. Other seeds need to be buried a little deeper to germinate in darkness. Use these handy plant labels to keep everything straight. you don’t want to mix up your plants.
How To Transplant
As your seedlings start to get larger, they’ll get a second set of leaves. This is time for the first transplant. You’ll want to transfer them to a biodegradable peat pot filled with potting soil. Peat pots are awesome because once the plants get large enough, the roots will grow through the pot. This means you can plant the peat pot directly in your garden to avoid transplant shock.
At this point, you’ll need to start watering manually. Either use a mister to keep them moist or a watering can. Be sure to keep the soil moist but not damp.
Hardening Off
Now that your plants have grown, its time to get them outside once the last frost has passed. You shouldn’t directly plant outside at this point. You should follow a process known as “Hardening Off”.
You’ve coddled your plants for the last 4-6 weeks. Plants must acclimate to being outdoors. You wouldn’t throw a kid that doesn’t know how to swim in the deep end. You have to help them first. That is what “Hardening Off” does.
You need to start getting your plants outside about a week before you want to plant outside. You want them outside in the shade and protected from the wind for a few hours. Over the next week, gradually increase their exposure to sun and wind.
It’s now time to plant them outside!
Starting Seeds Indoors – Common Issues
My seeds didn’t germinate.
There are a number of reasons your seeds might not germinate. One tip to mitigate this is to plant multiple seeds in one pot and trim the weaker of the two if they both germinate.
- Old Seeds – Using old seeds will lead to a lower germination rate. Don’t use seeds past their expiration date. Make sure you are getting seeds from a reputable source. Store leftover seeds in a cool dry place as temperature and humidity will reduce the long term germination rate
- Too Much/Little Water – Over-watering your seeds may cause them to rot. Under-watering may cause them to dry out and never germinate. Keep your soil moist, but not damp. The self watering indoor seed starting tray will help regulate the water level.
- Wrong Temperature – Make sure you’re following the seed packet instructions. Use a heating mat and mini greenhouse to help regulate the temperature.
- Incorrect Depth – Be sure to follow the seed packet instructions. Some require deep, low light planting. Others require shallow, high light plant for proper germination.
My seedlings died
- Too Much/Little Water – See above.
- Soil Contamination – Be sure to use new, sterile soil. This greatly reduces the risk of disease to your plants.
- Wrong Temperature – See above.
Other issues
- Plant falls over – This could be due to a fungus. Make sure you use a sterile mix. This could also be due to some plants being closer to light. Rotate your plants if they are getting natural light from one direction. Make sure your grow lights are at the same height.
- Mold on soil surface – This is due to over watering. Withhold water for a few days and use a fan to increase air circulation. This should clear up the mold.
Don’t forget to get all of your supplies!